
Hello!
This mani was inspired by Gettin' Girlie's beautiful nails! I followed the same tutorial by Enamel Girl. Major compliments to both!
Knowing my creative clumsiness, I only made enough marbling for a couple of accent nails and used expendable polish. My first attempt failed as the marbled polish wouldn't peel off the plastic! I succeeded in the second attempt though (using thicker layers of polish and more pliable plastic) and here are the results:

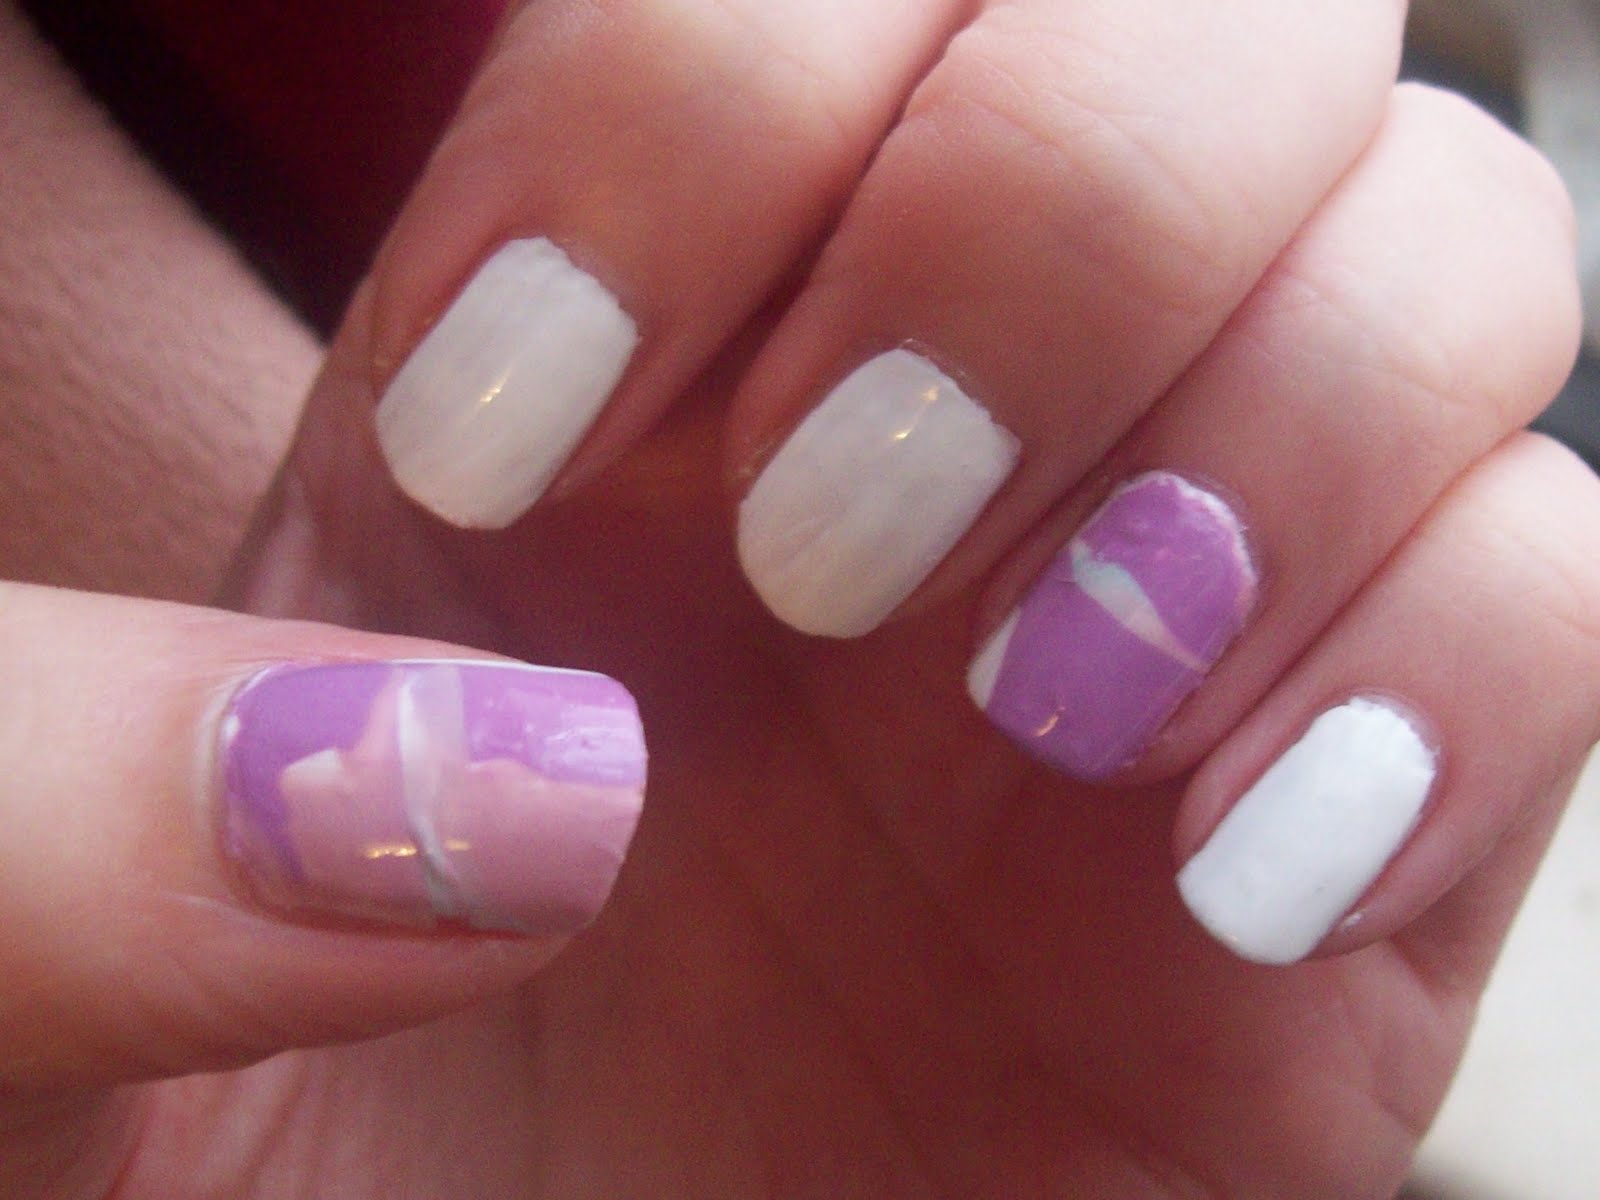

I mixed 17's Mini Skirt (white), Sweet Kisses (pink), Bolt From The Blue (very light blue), and La Femme Beauty's Lilac Cream polishes for the marbling. I painted all my nails with 2 coats of Andrea Fulerton's Bright White before applying the marbling to my left ring finger and thumb and my right index finger.
I adore it!! My index finger got the best design in my opinion. Next time I am definitely going to be more neat and careful when applying the marbling and cleaning up, but overall I am quite proud of myself ^_^
Have you ever tried this? Link me to your marbling pics if you have!
Hugs,
Lisa
You were smart! I did the dry water marble recently too but I did a TON of splotches because I couldn't seem to get the drags the way I wanted them. It turned out to be an incredibly long and involved process which left me not entirely happy with the results. I'm not sure it's THAT much easier than the water marble really...
ReplyDeleteI love the thumb and forefinger, I think I like water marbling better, though I heard it's messier. It still is a good look!
ReplyDeleteI haven't tried dry water marble before, but I have seen some tutorials on it! Your attempt turned out well.
ReplyDelete